Tool 1
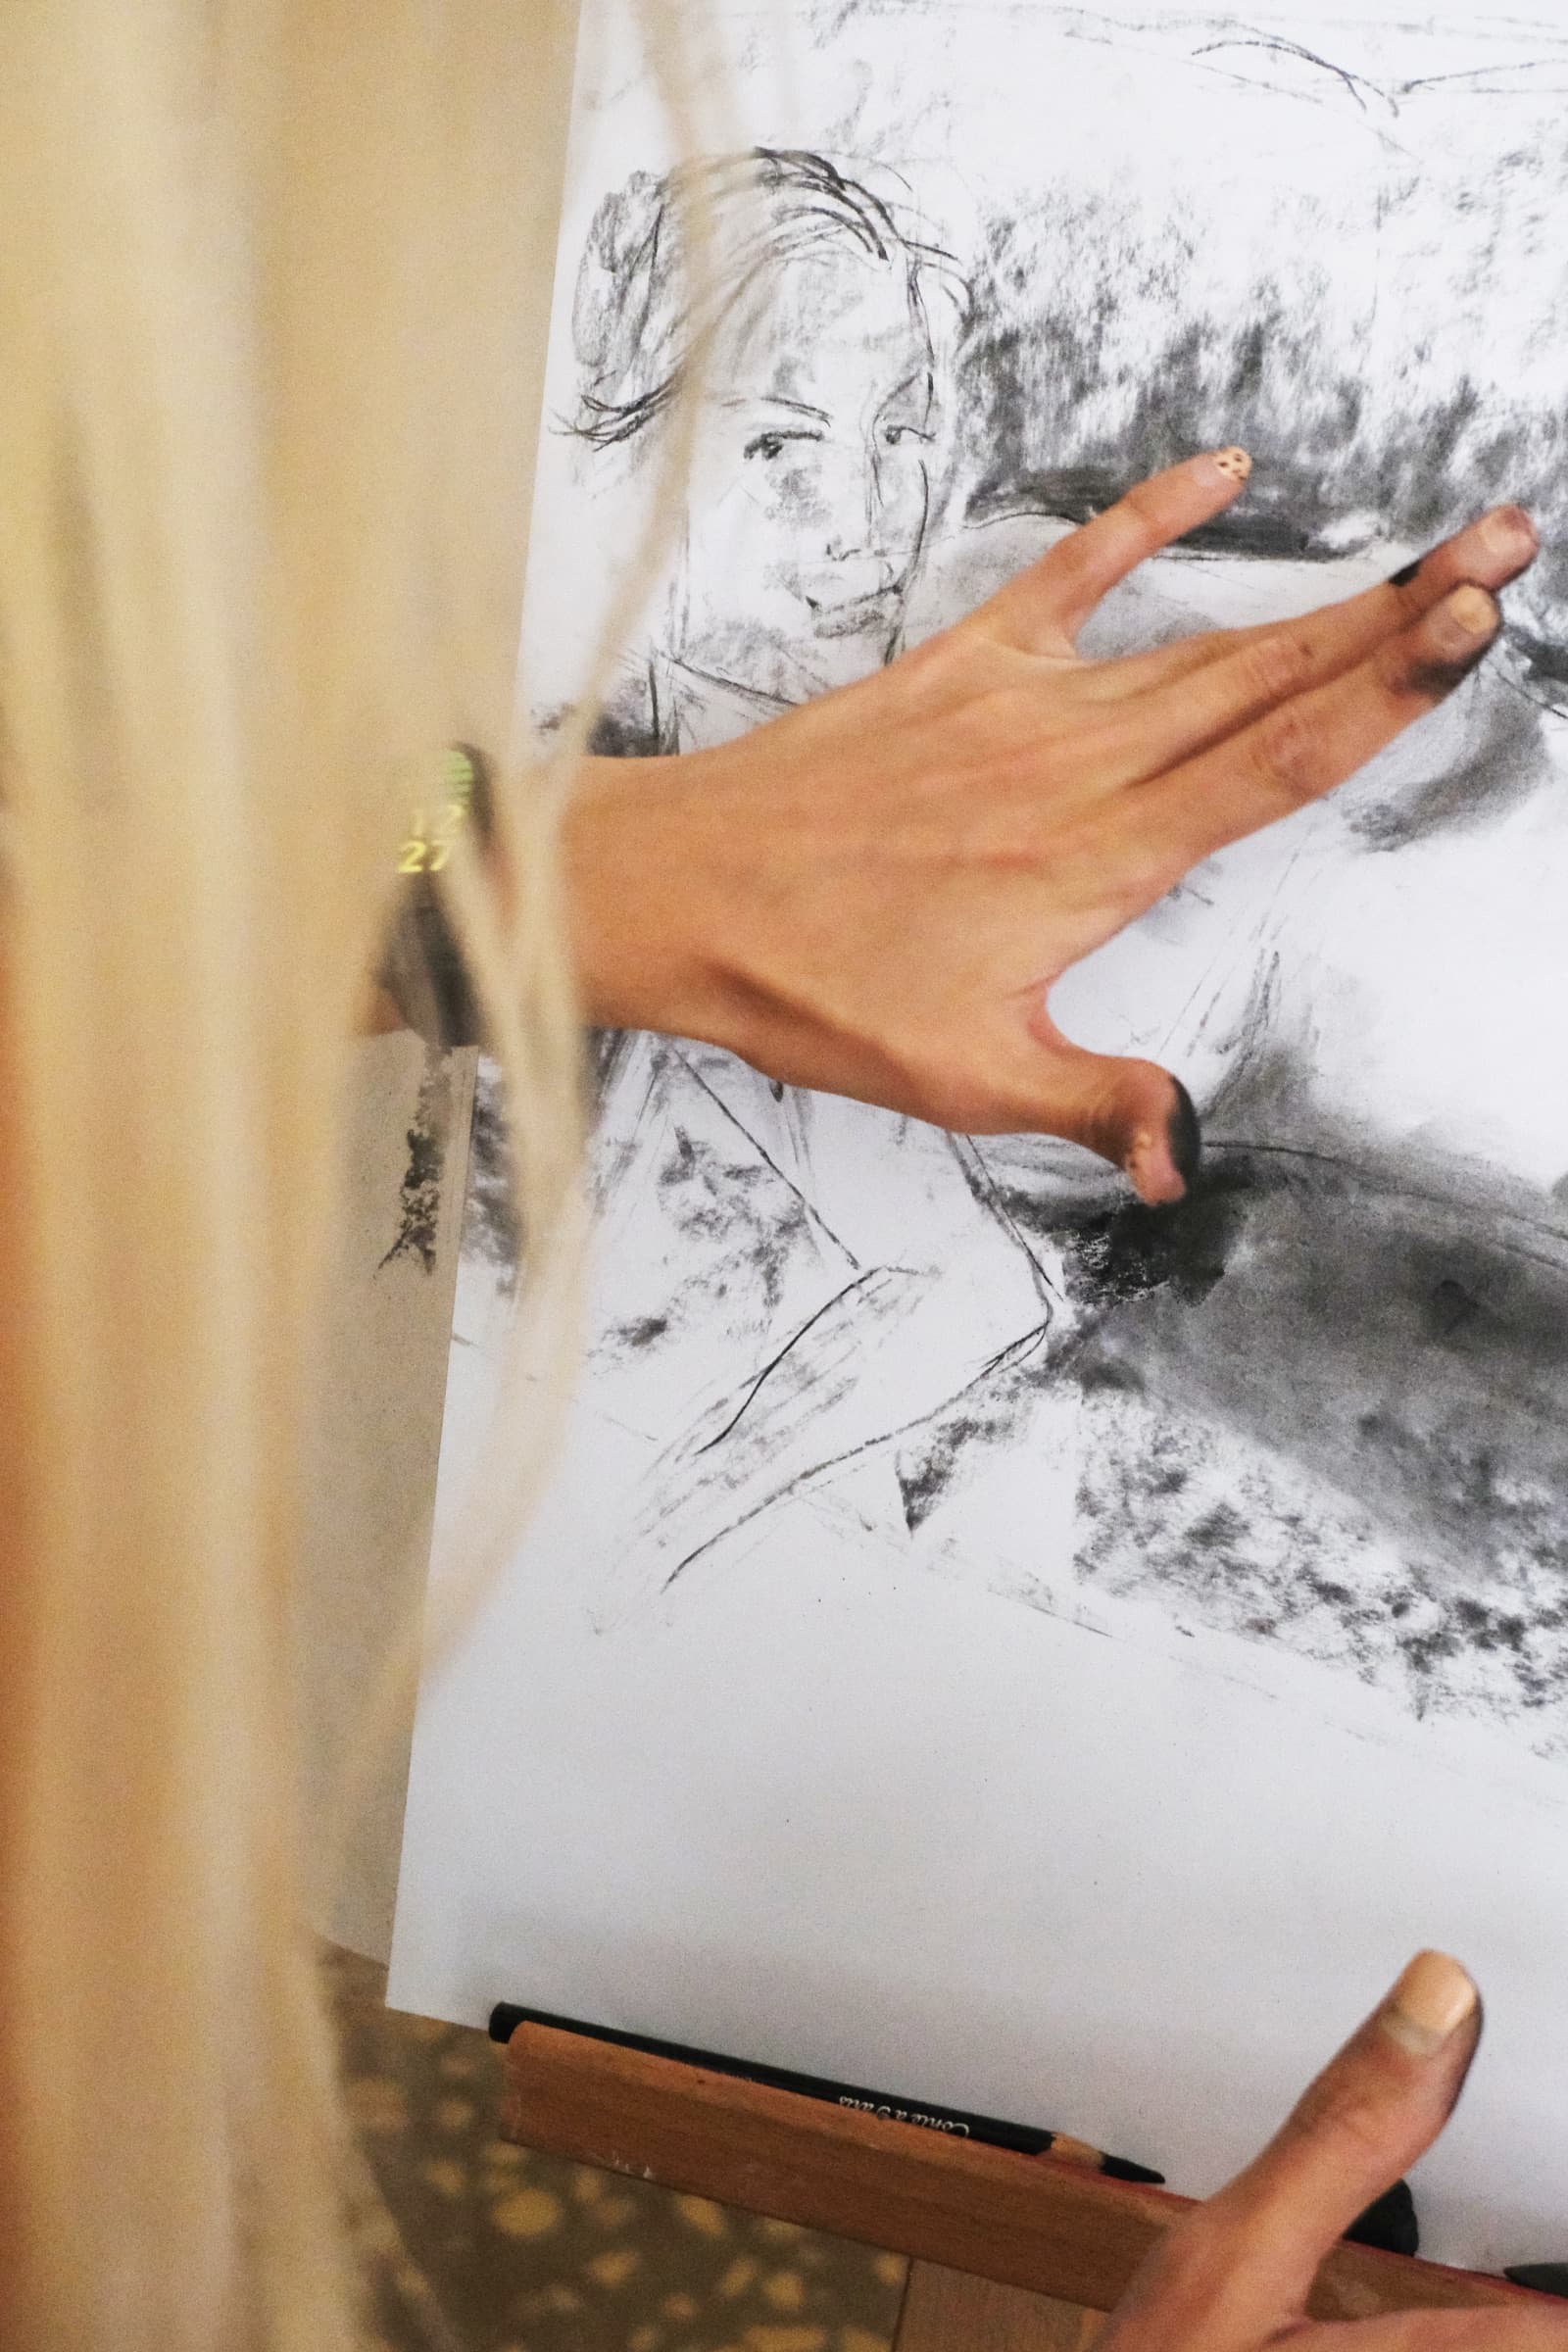
Vine or willow charcoal
Loose gesture, searching lines, and soft first masses.
Choose a small mixed-thickness pack. Expensive presentation boxes are unnecessary for the warm-ups.
Lisbon, Portugal
Studio materials guide
Buy for the mark you need
Charcoal process · Luna Peregrino
A useful-content-first resource
The free warm-up guide needs very little equipment. Begin with a light charcoal, one darker charcoal, two kinds of eraser, cheap paper, and a stable surface. Add specialist tools only when a specific drawing problem calls for them.
There are currently no paid affiliate links on this page. If affiliate links are added after retailer approval, each commercial link will be clearly identified and Luna may earn a commission at no extra cost to the buyer.
Tool 1
Loose gesture, searching lines, and soft first masses.
Choose a small mixed-thickness pack. Expensive presentation boxes are unnecessary for the warm-ups.
Tool 2
Deep darks, weight, contact shadows, and decisive accents.
One soft or medium stick is enough to begin. It behaves much darker than vine charcoal.
Tool 3
Lifting light, softening edges, and correcting without abrasion.
A single reusable eraser is more useful here than a large eraser set.
Tool 4
Sharper corrections and small high-contrast light shapes.
Use it sparingly after the larger masses are established.
Tool 5
Repetition without the pressure to make every sheet precious.
Newsprint or a large economical sketch pad is ideal for timed practice. Check that the surface can hold charcoal dust.
Tool 6
A stable surface and enough freedom to draw from the shoulder.
A simple rigid board is sufficient. Test tape on a corner before using it on better paper.
Tool 7
Broad blending and removal of excess charcoal dust.
Use what you already have before buying specialist blending tools.
What not to buy yet
Large pencil sets, dozens of blending tools, premium paper, fixative, and studio furniture can wait. Repetition on inexpensive paper will teach you more about pressure and mass than an oversized first order.